
How to Build a Body Jewelry Display That Helps Clients Trade Up

Admin
Nov 03 — 5 mins read
A good body-jewelry display does more than make the studio look organized.
It helps clients understand their options.
When basic, premium and statement pieces are mixed together without a clear structure, customers often default to the easiest choice.
When the display is arranged strategically, clients can see the difference between materials, finishes, sizes and price levels — making it easier for them to choose the jewelry that actually fits their style and budget.
For piercing studios, the objective is not simply to display more jewelry.
It is to make the selection easier to understand.
Start With Clear Product Groups
One of the biggest display mistakes is presenting everything at once.
A case filled with hundreds of individual pieces can look impressive but also overwhelming.
Instead, divide the display into logical groups.
For example:
- everyday essentials
- titanium
- gold
- jeweled pieces
- clickers
- threadless tops
- statement pieces
- new arrivals
Customers should be able to understand the display within a few seconds.
Shining Light's online Body Jewelry range follows a similar logic, organizing products by jewelry type and material.
Give Premium Jewelry Its Own Space
If a $20 piece and a $200 piece are placed side by side without explanation, the customer sees only a price difference.
The display needs to communicate why the premium option is different.
That may involve:
- material
- gemstone
- design complexity
- finish
- construction
- brand positioning
Solid gold, for example, should not disappear into a large tray of mixed jewelry.
Give it its own visual space.
Studios carrying premium pieces can build a dedicated section around 14K Gold Body Jewelry, allowing clients to recognize immediately that they are looking at a different product tier.
Use a Good-Better-Best Structure
Clients often make decisions more easily when they can compare a small number of clear options.
A simple structure might be:
Good: clean, dependable everyday jewelry
Better: upgraded material, finish or stone
Best: premium solid gold or more elaborate design
This should not feel like aggressive upselling.
It simply gives the customer context.
For example, instead of showing twelve random studs, a piercer might show:
- a simple titanium top
- a jeweled titanium top
- a solid 14K gold top
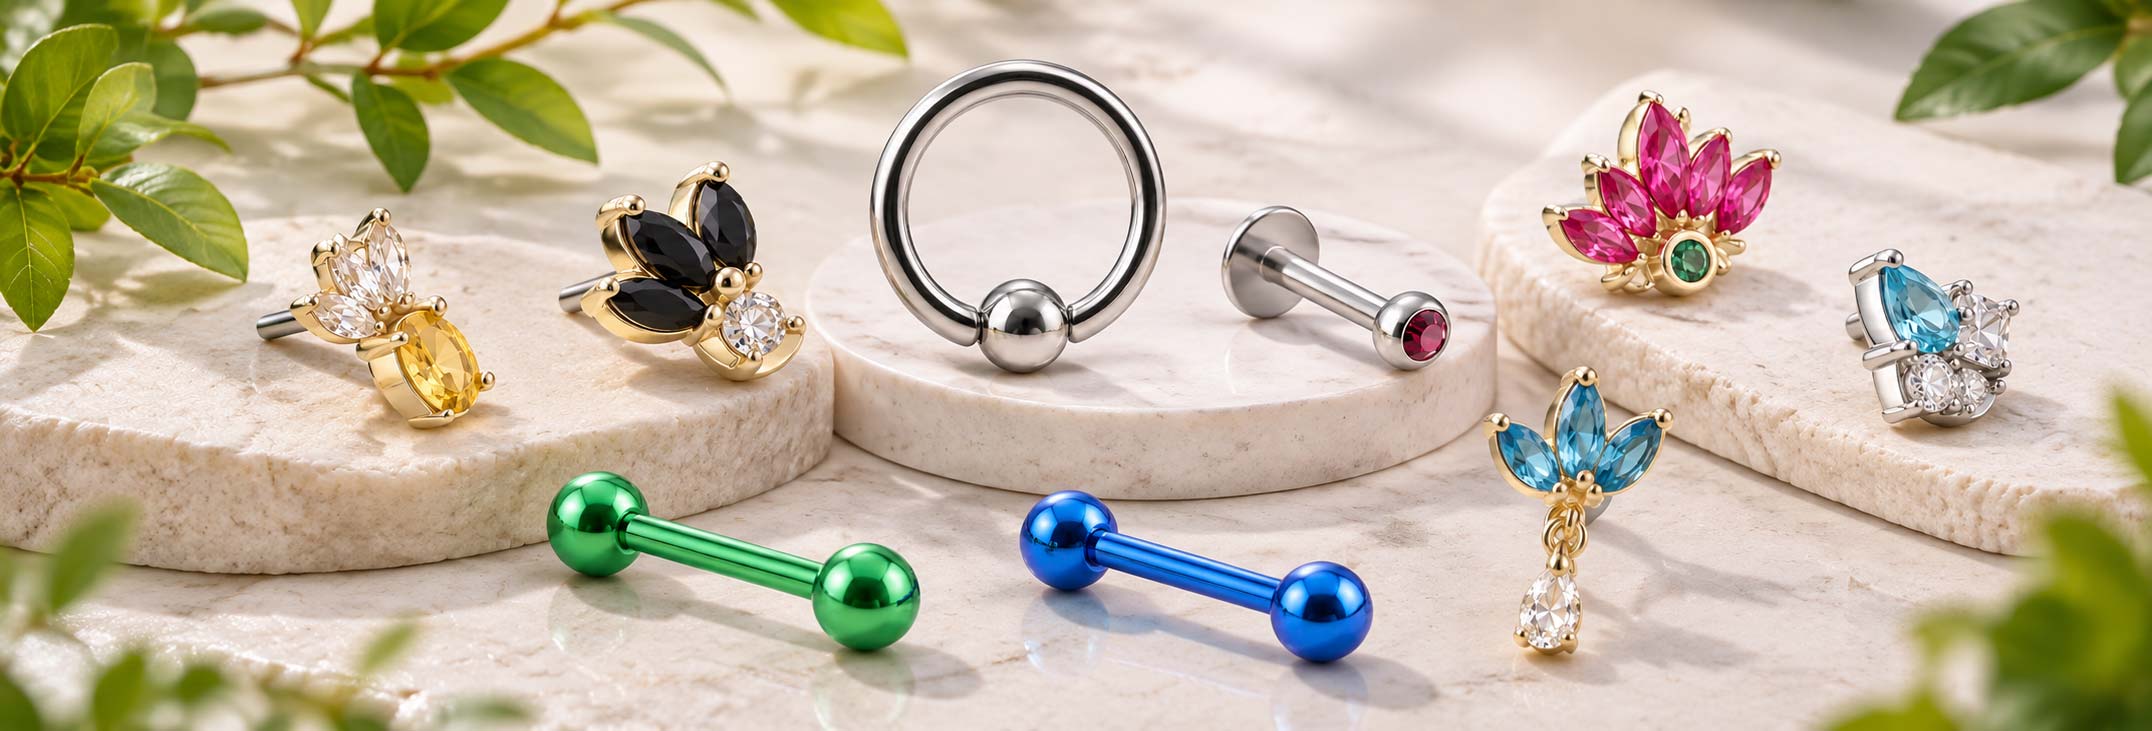
The customer can immediately compare appearance and price.
Organize by Material Where It Helps
Material is one of the easiest ways to create understandable product tiers.
A studio may choose separate sections for:
- ASTM F-136 titanium
- surgical steel
- solid gold
Shining Light's Jewelry by Material page provides these same distinctions online.
Material labels also give piercers a natural starting point for conversations about product choice.
Instead of saying only, “This one costs more,” staff can explain what the piece is made from and why the customer may prefer it.
Keep the Best Pieces at Eye Level
Retail merchandising principles still apply inside a piercing studio.
The products you most want clients to notice should not be hidden in the bottom corner of the case.
Use the strongest visual position for:
- premium pieces
- new arrivals
- trending designs
- coordinated collections
- higher-value stones or gold
Shining Light maintains a Trending section that studios can also use when reviewing products that may refresh an existing display.
Build Small Curated Stories
Instead of displaying only individual products, show how pieces can work together.
For example:
Minimal Titanium
A small flat-back stud, a simple clicker and a clean helix piece.
Gold Upgrade
A 14K gold top paired with a coordinating ring or clicker.
Jeweled Ear
Three pieces with complementary stones in different scales.
Mixed Shapes
A small round stone, marquise shape and chain detail.
This helps clients imagine the jewelry on the ear rather than seeing each piece in isolation.
It is especially useful for studios offering ear-curation appointments.
Do Not Overload Each Tray
More inventory does not automatically create a better display.
When there are too many pieces packed together:
- premium pieces lose impact
- individual designs become difficult to see
- customers take longer to choose
- the case can look less valuable
Leave some visual space.
A small number of carefully selected pieces can often appear more premium than a densely packed tray.
If the studio carries significantly more inventory than can be displayed well, rotate pieces rather than showing everything simultaneously.
Use Displays That Match the Jewelry
The physical display itself also influences how the product is perceived.
Bright plastic trays may work for basic utility products but may not support premium jewelry positioning.
For elevated collections, consider:
- clean neutral backgrounds
- controlled lighting
- consistent cards or holders
- simple material labels
- minimal visual clutter
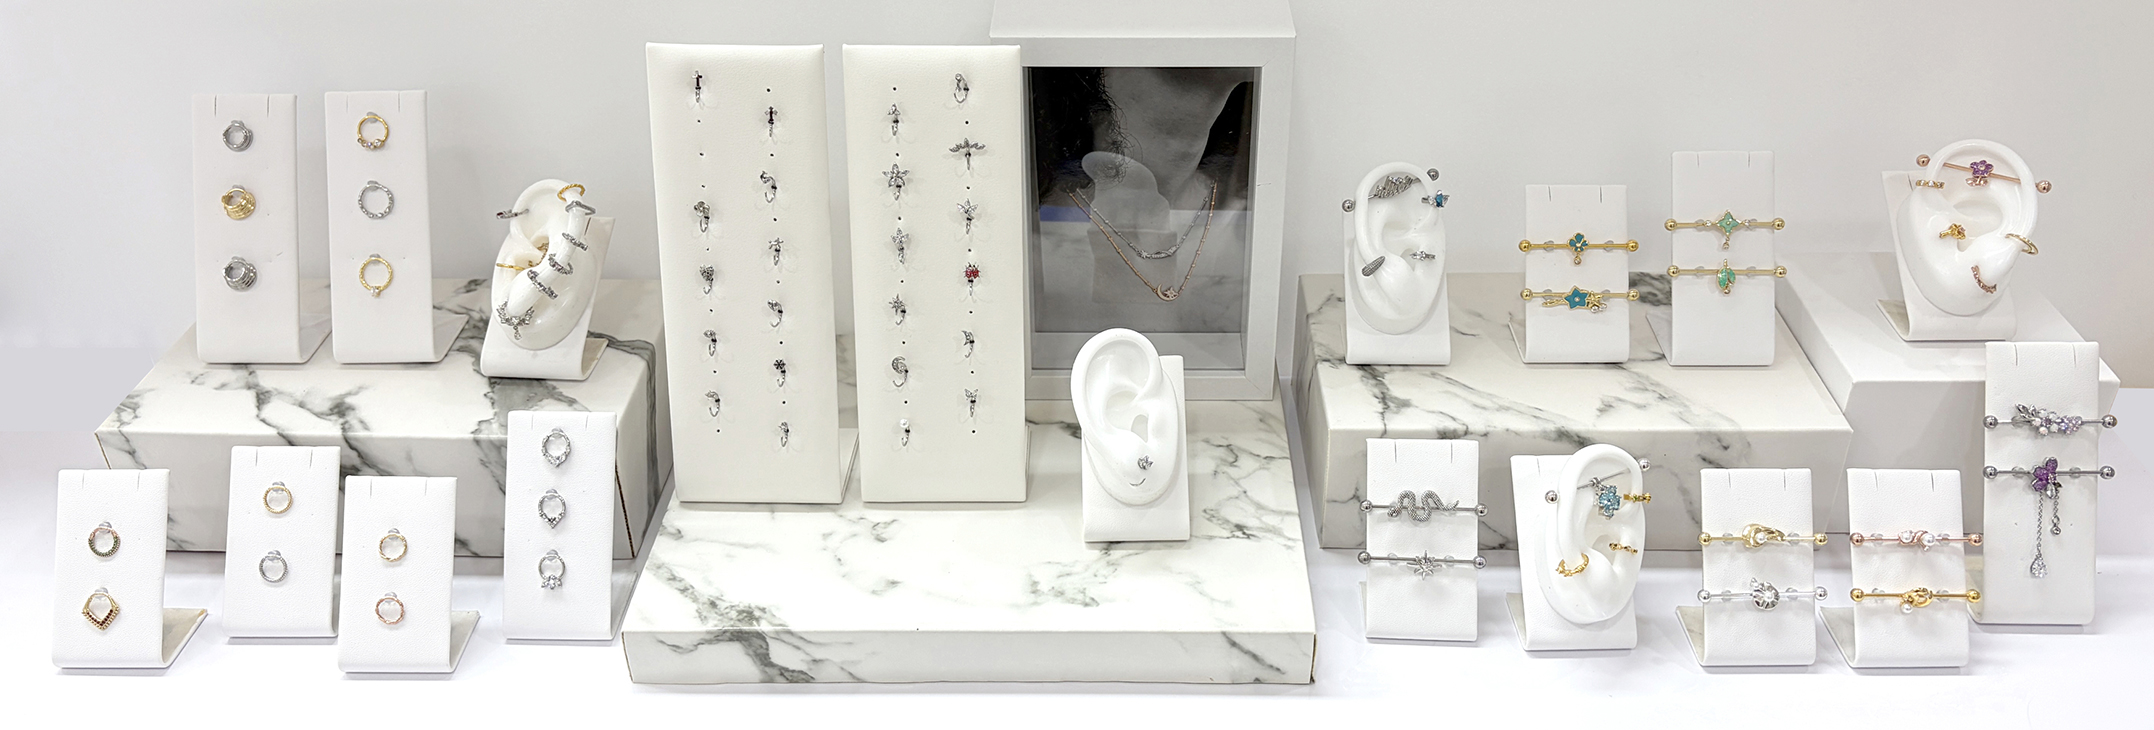
Shining Light carries dedicated Body Jewelry Displays that studios can use when building or refreshing their presentation.
Label What Matters — Not Everything
A display does not need paragraphs of information.
A few clear labels can be enough.
Useful examples include:
- ASTM F-136 Titanium
- 14K Solid Gold
- Threadless
- New
- Best Sellers
- Sterilized
- Starting From $XX
Avoid filling the case with too much technical text.
The goal is to give the client a reason to ask the piercer a question.
Make Size Selection Easy for Staff
A beautiful display is useless if staff cannot quickly identify the correct gauge, length or diameter.
Keep the customer-facing display simple, but maintain a clear internal organization system behind it.
This might include:
- item code
- gauge
- length
- diameter
- material
- stone size
- price
Shining Light's Size Chart provides gauge and measurement references that can help studios keep terminology consistent.
Rotate Newness Into the Display
Customers who return to the same studio should not see exactly the same case every visit.
Even if the core inventory remains unchanged, rotate:
- new designs
- seasonal pieces
- trending styles
- premium options
- different color combinations
This creates a sense of discovery without forcing the studio to completely replace its inventory.
Connect Display Strategy to Inventory Strategy
The display should reflect what the studio can realistically sell and restock.
If a particular titanium clicker sells repeatedly, keep it visible.
If an expensive statement piece has not generated interest in six months, move it or replace it.
The display should evolve based on actual customer behavior.
One advantage of Shining Light's wholesale model is that studios can purchase flexibly without a minimum-order requirement, making it easier to test selected styles rather than committing heavily to a new category. The current site explicitly promotes no-minimum ordering for studio customers.
The Piercer Still Makes the Difference
A good display begins the conversation.
The piercer completes it.
Staff should understand:
- the materials
- the jewelry construction
- available sizes
- which pieces work well together
- the price difference between options
A client is more likely to upgrade when they understand what they are buying.
The goal should not be:
“How do we make someone spend more?”
The better question is:
“How do we make the differences between our options clear enough that the customer can choose confidently?”
That approach is better for the client and better for the studio.
Explore Shining Light's Body Jewelry Displays, Trending Jewelry, and Jewelry by Material when planning your next display refresh.